
Josh Wetherington, Paladin
When most people talk about building performance, they tend to focus on high-efficiency HVAC units, advanced lighting controls, and smart building automation. But every one of those systems depends on an enclosure that can stand up to the elements—which makes the building envelope the first place to invest in performance.
The building enclosure—the physical separator between the conditioned interior and the unconditioned exterior—is arguably a facility’s most critical defense against energy waste. When that “envelope” performs, the payoff shows up in lower utility costs, longer equipment life, and a quieter first year of operation. The encouraging part is that enclosure performance is measurable—and design and construction are when it is easiest, cheapest, and most enforceable to confirm.
The Anatomy of a High-Performing Envelope
Unlike mechanical equipment, which relies on a series of moving parts, a building’s envelope is made up of a variety of stationary systems that must work perfectly in unison. This includes below-grade, wall, fenestration and roofing assemblies such as foundation, slab, air and vapor barriers, insulation, sheathing, exterior cladding, windows, doors, flashing, roofing and building transitions.
Because these systems span the entire footprint of the facility, there is a lot of ground to verify. The good news is that our field testing experience consistently points to two areas where performance is won or lost—which makes them the highest-value places to focus attention early:
- Openings: Every window, piping penetration, and ventilation opening is a detail worth confirming before it gets covered up.
- Transitions: Where horizontal surfaces meet vertical surfaces—and where different materials and contractor disciplines intersect—coordination and verification pay the biggest dividends.
For example, a recent standardized water test on a curtain wall showed the value of an accurate diagnosis: what first looked like a glazing failure traced back to an incomplete wall system at a transition point, so the correction went to the right trade the first time. Gaps like these often occur at transitional systems like expansion joints where the work of a vertical glazing contractor meets the work of a horizontal concrete contractor. On complex projects, multiple trades—roofing, glazing, concrete, and more—must coordinate closely on these transitions—and a verification plan keeps every trade accountable to the same standard.
What Enclosure Performance Protects: Energy, Equipment, and Air Quality
Now a perfectly airtight building isn’t necessarily the goal; buildings are inherently designed with a specific threshold of allowable leakage so they can “breathe”. However, when design or construction defects aggregate to push a building to cross that threshold from “breathable” to “leaky,” the problems really start to pile up.
When a building loses excessive air, the HVAC system is forced to overwork constantly to compensate. This constant strain degrades the mechanical equipment much faster than intended and drives up energy consumption. Furthermore, uncontrolled leakage can introduce outside moisture and condensation into a facility, inviting a host of environmental and indoor air quality (IAQ) issues.
Let’s look at the math using a simple example. Why don’t we assume a generic 35,000 sf higher education classroom building with all electric service and a targeted EUI of 25. The designed allowable air loss is 0.25 cfm/sf. During whole building air tightness testing, the air loss is measured at 0.40 cfm/sf. What is the impact?
| cfm/sf | Total airflow | |
| Targeted air leakage | 0.25 | 8,750 cfm |
| Measured air leakage | 0.40 | 14,000 cfm |
| Excess | 0.15 | 5,250 cfm |
That 0.15 cfm/sf overage — applied against Lexington, KY heating/cooling degree days and a typical heat pump system efficiency — adds roughly 7.3 kBtu/sf/yr to the building’s energy use. This moves our predictive EUI from 25 to an as-built EUI of 32. That is a 29% penalty from air leakage alone.
Part One: How to Prevent Envelope Problems
The most cost-effective enclosure repair is the one made while the trades are still on site and the assembly is still open. Third-party verification during construction gives an owner exactly that window, which is why it belongs in the project schedule rather than in the optional add-ons column. Consider an older commercial building in Lexington, Kentucky, where a storefront glass installation passed through several subcontractors before reaching a crew that worked quickly but lacked the qualifications for the assembly. A scheduled inspection or water test at close-in would have caught the workmanship while the installer was still on the hook for it. The takeaway is a practical one: put verification checkpoints in the construction sequence, not on the punch list.
The Prevention Toolkit: How Commissioning Verifies Performance
Building owners are rarely experts in the nuances of enclosure systems. The commissioning discipline closes this knowledge gap by observing construction, testing systems, and recommending actionable solutions. To confirm performance before turnover—and to trace any issue back to its source—commissioning professionals utilize a suite of quantifiable testing methods:
- Whole-Building Air Tightness Testing (USACE): Using airtightness standards established by the US Army Corps of Engineers, technicians can accurately analyze and quantify exactly how much air an entire building is losing.
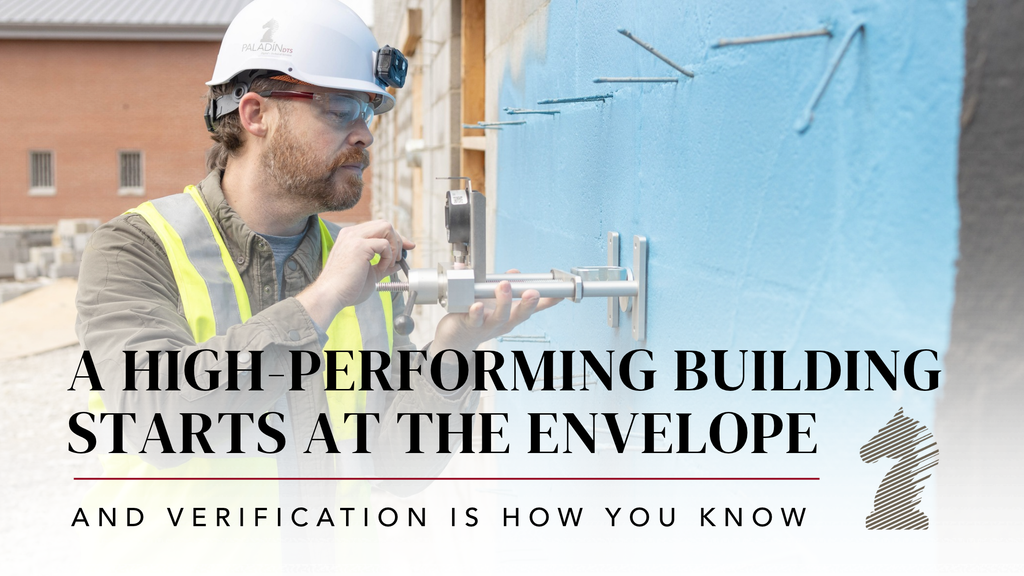
- Window Water Penetration Testing (AAMA 502, ASTM E1105): By applying water in a standardized testing manner—carefully controlling the amount of water and the pressure—technicians can identify active leaks and failures at the window assembly and its critical transition points.
- Window Air Leakage Testing (AAMA 502, ASTM E783): This targeted test isolates specific window and storefront installations to measure the exact rate of air infiltrating or exfiltrating the assembly, ensuring the system stays within its allowable design threshold.
- Diagnostic Water-Spray Testing (AAMA 501.2): Often used to track down hard-to-find issues, this field test utilizes a specialized spray wand to pinpoint the exact, granular source of water leaks in curtain walls, storefronts, and other non-operable structural joints.
- Infrared Thermal Imaging (ASTM E1186): Using advanced thermography, technicians look for temperature shifts behind walls to expose hidden vulnerabilities, such as areas where insulation was forgotten or spray foam was missed.
Part Two: What to Do If Your Building Already Has Issues
Plenty of owners come to us after occupancy, and the message there is just as encouraging: an existing building can be diagnosed and corrected. The same test methods used before turnover work on a building in service, and they answer the question that matters most—where is the water or air actually getting in?
That answer is what keeps a repair budget honest. Whole-building airtightness testing quantifies how much air a facility is losing, water-spray and window testing isolate active leak paths at specific assemblies, and infrared imaging exposes missing insulation behind finished walls. Together they replace trial-and-error patching with a prioritized scope of work.
The case is even stronger in critical environments. A hospital that recently had to take units offline because rainwater was entering the building illustrates the point: where uptime is clinical, a verified enclosure protects continuity of care as directly as it protects the energy budget. Its maintenance team was capable, but no one had documented how the enclosure was designed to perform—which is precisely what commissioning hands over at turnover, along with a baseline the facility team can manage against for years.
From there, the path is straightforward: establish a performance baseline, document how the enclosure was designed to function, sequence repairs by impact, and re-test to confirm the fix held. Owners who take that route usually find the assessment pays for itself in the repairs it lets them skip—and in the equipment life and utility savings they get back.
If your building is showing symptoms—rising utility bills, drafts, condensation, or staining at transitions—an enclosure assessment is a low-risk first step, and it puts you back in control of the timeline.
Redefining the Finish Line
For a new building owner struggling to quantify the value of testing a building envelope, I’m always happy to put them in touch with peers who have been through the process on their own projects. Their advice is consistent: verify the enclosure while you still have leverage over the schedule and the trades, and you will never have to learn about a leak, a draft, or a utility spike from your first year of operating data.
By proactively testing the enclosure before turnover, commissioning experts on the team can identify communication gaps between trades, catch installation errors early, and ensure that the owner inherits a high-performing, resilient asset that operates exactly as designed.